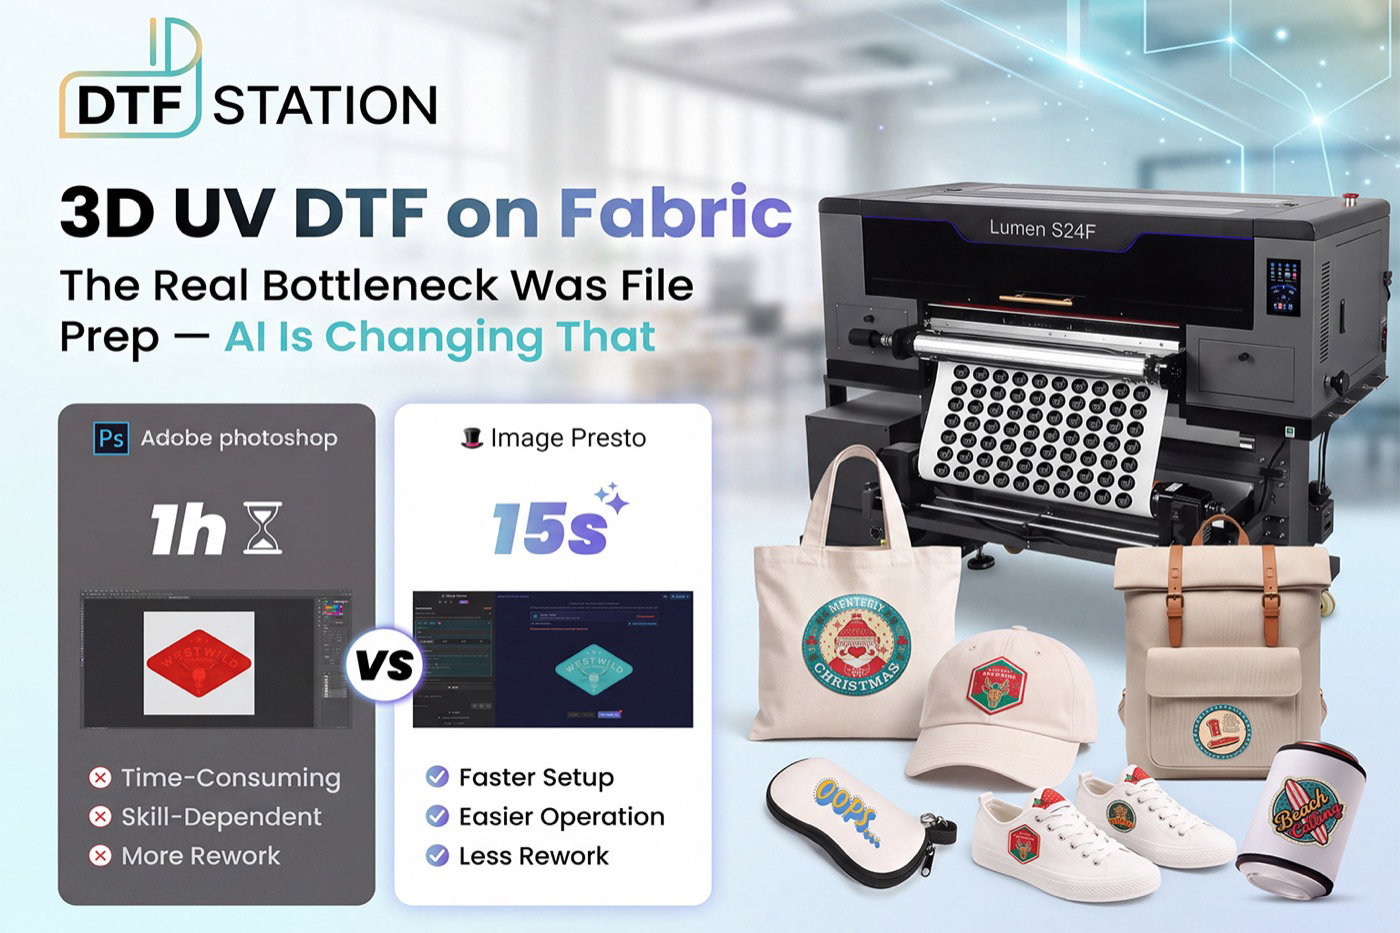
3D embossed UV DTF can create something ordinary garment printing cannot easily reproduce: full-color graphics with real raised texture, gloss and embroidery-style detail.
The obvious applications are premium branding areas on hats, bags, shoes, can coolers and other structured fabric accessories.
So why isn’t every personalization shop already offering it?
The printer was only part of the problem.
The less visible problem was prepress.
To produce a convincing dimensional transfer, an operator may need to tell the printer separately where to put the white base, where varnish belongs, what should rise, what should stay flat and—if creating a faux-embroidery look—how the texture should behave.
That can turn one customer logo into a surprisingly involved production file.
Print operators are already discussing exactly these problems. One UV DTF operator described customer artwork and creating the correct white layers as a major production headache, while another recent discussion asked how to reproduce realistic stitch direction, thread texture and relief without manually building the effect in Photoshop or Illustrator.
That is where AI-assisted 3D prepress becomes more important than another printer specification.
Quick Answer: What Is Changing?
| Before | AI-Assisted 3D Prepress |
|---|---|
| Manually isolate artwork areas | Select the intended area visually or with AI assistance |
| Build separate white/varnish masks | Create named spot channels in the same workflow |
| Manually construct texture | Apply predefined relief or stitch treatments |
| Guess how the raised result may look | Preview the relief in 3D |
| Prepare and name files for the RIP | Export a multi-channel TIFF with channel names embedded |
| High dependency on an experienced designer | Operator still makes the decisions, but repetitive setup is reduced |
This does not make prepress automatic.
It changes the operator’s job from building every layer to more often selecting, adjusting, previewing and approving the result.
That distinction matters.
First: 3D UV DTF Is Not Just a Regular UV DTF Sticker
The terminology around this category is messy.
Depending on the supplier, you may see:
- 3D UV DTF
- 3D embossed UV DTF
- 3D TPU UV DTF
- faux embroidery UV DTF
- raised UV transfer
- embroidery-effect transfer
They are not necessarily identical systems.
Traditional UV DTF is widely understood as a pressure-sensitive transfer for decorating hard surfaces such as glass, acrylic and metal. That is why print-community discussions often warn against treating conventional UV DTF like garment DTF.
A newer group of systems uses specialized transfer materials and layered UV printing to create raised graphics that can be transferred to textiles. Manufacturers are already selling equipment specifically around 3D TPU patches and faux-embroidery applications.
That distinction should be clear whenever you evaluate this technology:
Do not assume that something advertised simply as “UV DTF” is suitable for fabric—or that performance claims from one film/ink system apply to another.
Ink chemistry, transfer film, adhesive, relief construction and finishing method all matter.
Why 3D UV DTF Prepress Gets Complicated
A flat PNG looks simple to a customer.
To a dimensional UV workflow, it may contain several separate production instructions.
1. White is not just another color
White often acts as an underbase. The RIP needs to know exactly where white should print.
Get the mask wrong and you can get unwanted white edges, missing opacity or visible registration problems.
White-layer setup is already a recurring operator issue in UV DTF communities.
2. Varnish controls more than gloss
Varnish can define selective gloss and contribute to physical build.
Now the operator must decide:
Which areas should be glossy? Which should be raised? Should the varnish follow the color exactly—or deliberately differ from it?
3. A faux-embroidery image needs structure
Printing an image that looks like thread is different from making a convincing dimensional embroidery-style transfer.
Stitch direction matters.
Texture scale matters.
Edges matter.
The raised structure needs to make sense when viewed from different angles—not just when viewed as a flat image on a monitor.
That is why current community questions are moving beyond “which Photoshop filter?” toward stitch direction, relief and production-ready texture.
4. The RIP still needs the right instructions
A printer cannot infer the intended structure from a normal JPG.
The production file needs the correct spot-channel information.
Wrong channel names or incorrectly generated layers can mean the hardware is capable of producing the effect, but the file never tells it to do so.
What AI Actually Changes
This is where tools such as Image Presto represent a meaningful workflow change.
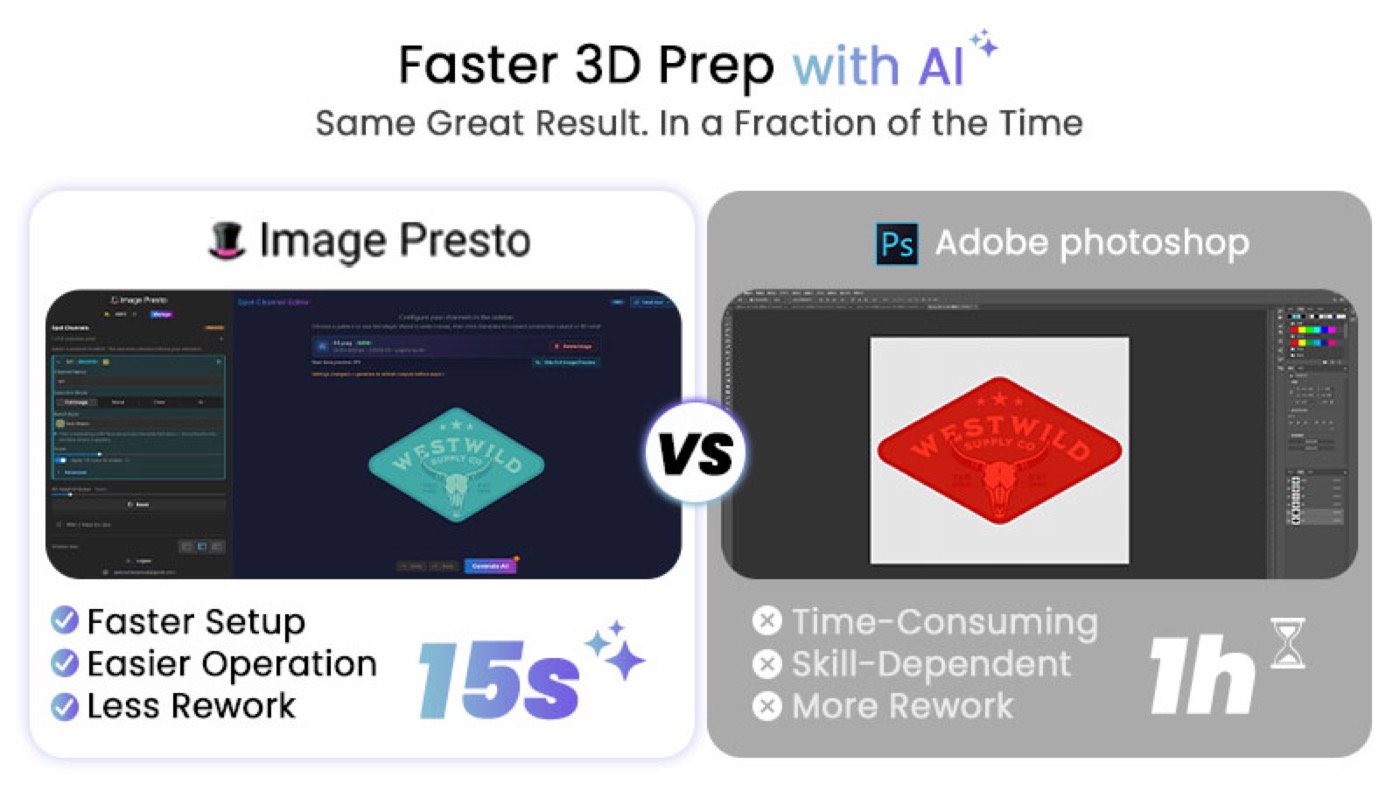
Its current Spot Channel workflow supports:
- up to 4 named spot channels
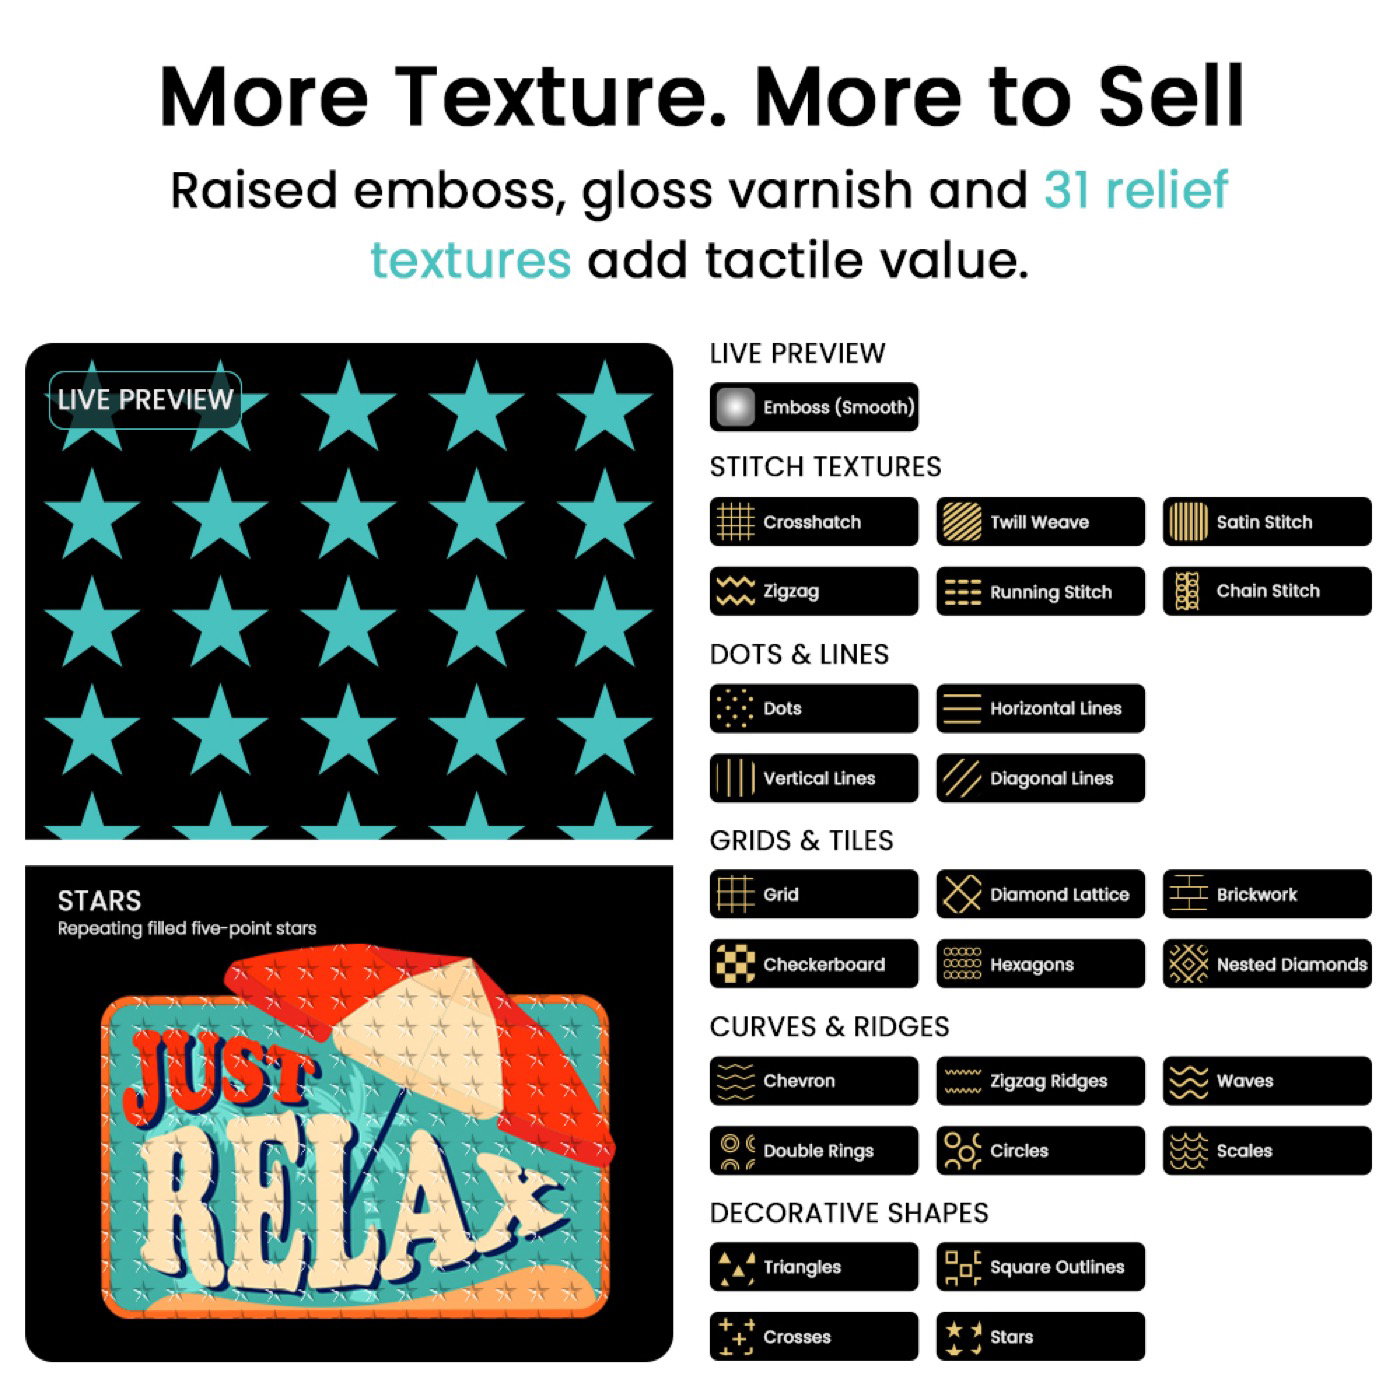
- 31 relief and stitch textures
- full-image, magic-wand, color and AI-assisted selection
- separate masks for white, varnish and raised effects
- interactive 3D relief preview
- multi-channel Photoshop-compatible TIFF export
- embedded channel names for compatible RIP workflows
For LUMEN S24F, the intended workflow connects this preparation stage with NeoStampa RIP. It’s juat as simple as selecting the raised area, choosing the relief treatment, inspecting it in 3D and then exporting the prepared channels instead of manually rebuilding every layer.
What AI does well
For suitable artwork, AI-assisted selection can turn a previously tedious masking operation into a few interactions.
That is especially useful when customers send:
- PNG logos
- multi-color artwork
- irregular shapes
- graphics with several regions that require different treatments
What AI does not do
It does not decide whether the finished product is commercially good.
An experienced operator still needs to judge:
- appropriate relief height
- edge cleanliness
- texture scale
- fine-detail reproduction
- varnish coverage
- substrate suitability
- transfer settings
- durability requirements
AI removes repetitive work. It does not remove production judgment.
That is an important distinction for any shop evaluating this technology.
Where 3D UV DTF Makes the Most Sense
The most interesting opportunity is not replacing every DTF transfer or every embroidered logo.
It is adding a premium decoration option where dimensional branding carries enough value to justify the additional production process.
Strong application candidates
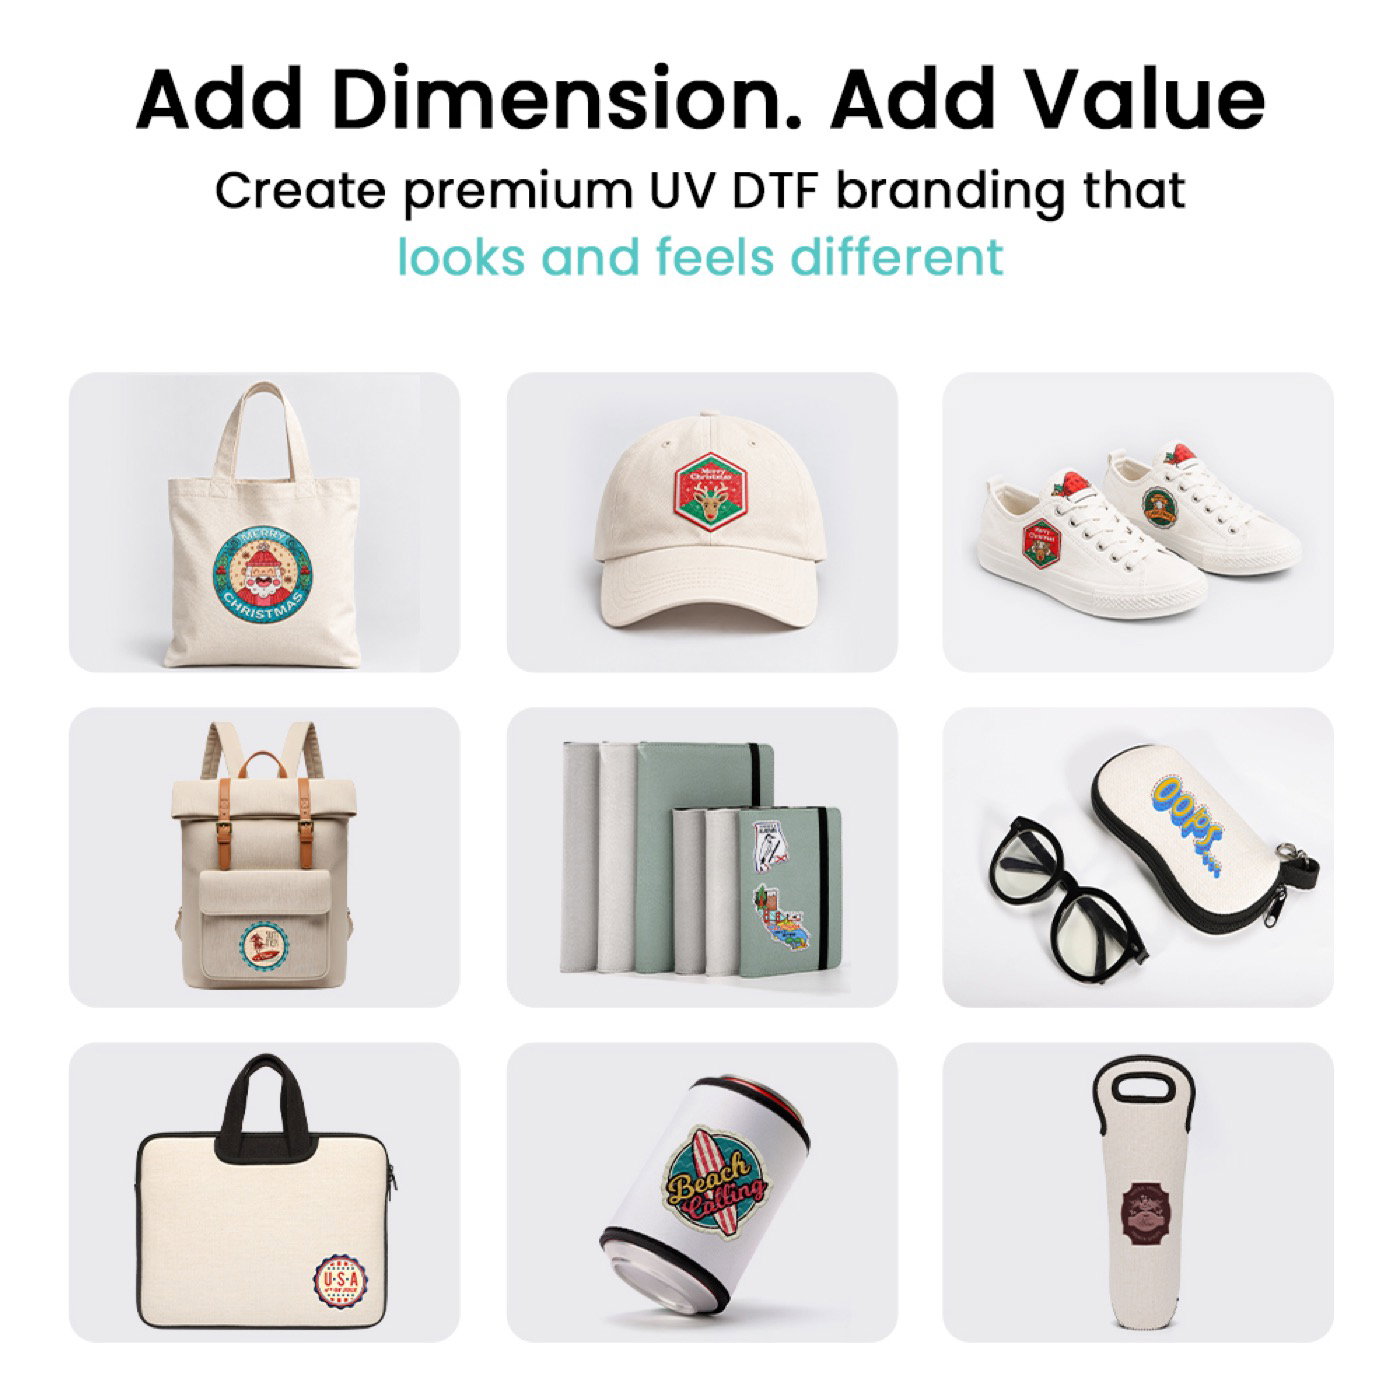
- Hats and caps: Small, visible branding areas naturally suit raised logos and embroidery-style effects.
- Shoes and footwear accessories: Dimensional logos can create a substantially different look from a flat transfer.
- Tote bags and structured bags: Useful for branded merchandise, limited editions and premium personalization.
- Backpacks and accessory panels: Small logo placements can benefit from tactile differentiation.
- Can coolers and selected promotional textiles: Good candidates where the decoration area is relatively structured and visual branding matters.
- Small-run branded merchandise: Particularly interesting when customers want several finish variations without conventional embroidery setup.
Where we would be cautious
For the current LUMEN workflow, we would not recommend:
- T-shirts
- Garments with frequent direct skin contact
3D Embossed UV DTF vs. Embroidery vs. DTF
There is no universal winner.
They solve different jobs.
| Process | Best Reason to Use It | Main Trade-Off |
|---|---|---|
| 3D UV DTF | Raised, glossy, faux-embroidery-style branding with full-color detail | More complex materials and application validation |
| Traditional Embroidery | Authentic thread construction and established apparel durability | Digitizing, thread limitations and setup become significant on some short/custom jobs |
| Standard DTF | General garment graphics, full color and broad apparel use | Primarily a flat graphic rather than a true relief effect |
| Standard UV DTF | Detailed decals for hard surfaces and irregular objects | Normally a different workflow from heat-transferred fabric decoration |
The better business question therefore is not:
“Will 3D UV DTF replace embroidery?”
It is:
“Which jobs are customers currently asking for that are awkward, expensive or visually impossible with the processes I already have?”
That is where a new decoration technology earns its place.
What a Print Shop Should Ask Before Buying a 3D UV DTF Printer
Ignore the feature list for a moment.
Ask these questions instead.
1. Show me the complete artwork workflow.
Bring your own file.
Do not accept only pre-prepared demo artwork.
Watch what happens between customer PNG → spot channels → texture → preview → RIP.
2. How much preparation is required per custom job?
Hardware speed matters.
But on premium short runs, prepress minutes per job can be just as important as square meters per hour.
3. What happens when the artwork is difficult?
Test:
- small text
- thin lines
- gradients
- disconnected objects
- complex logos
- low-resolution customer artwork
A perfect rectangular logo proves very little.
4. What substrates have actually been tested?
Ask for a matrix rather than “works on fabric.”
Fabric type, coating, stretch, surface texture and intended use all affect the finished result.
5. Where is the durability data?
Request substrate-specific:
- wash testing
- flex testing
- abrasion testing
- edge-lift testing
Do not accept one universal “durable” claim.
6. How does relief affect production speed?
Building more physical height requires more deposited material and/or additional printing.
Any 3D printer speed number should therefore be read together with relief height, coverage and print mode.
Where LUMEN S24F Fits
LUMEN S24F is being developed around this exact workflow problem.
It is a 24-inch / 60 cm 3D embossed UV DTF printer using CMYK + White + Varnish with an Epson i3200HD-U1 and i1600HD-U1 printhead configuration. Its current workflow pairs Image Presto with NeoStampa RIP.
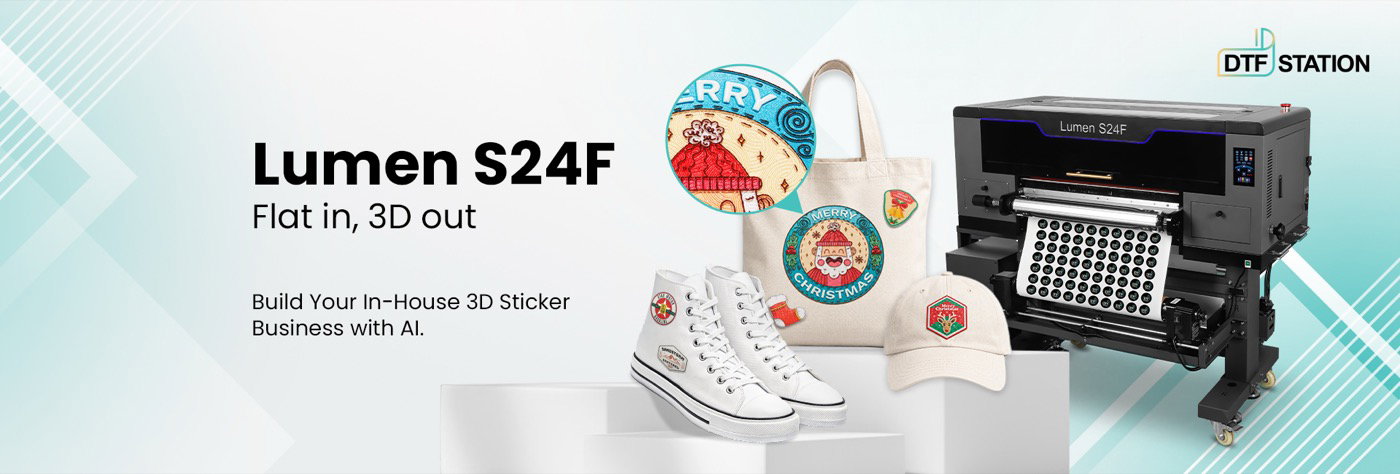 Lumen-S24F 3D Embossed UV DTF Printer
The more significant part of the product story, however, happens before the printer starts moving.
Starting with ordinary flat artwork, the operator can:
Select → Apply Relief → Preview in 3D → Export → RIP → Print → Transfer
Image Presto provides up to 31 relief and stitch-style treatments, meaning the same logo can be explored as different tactile finishes without rebuilding the complete file each time.
White-ink circulation and automatic cleaning support the printing side of the workflow, while a built-in purifier helps simplify fume-management equipment planning. Adequate room ventilation is still required.
With Lumen S24F and Image Presto, 3D printing becomes much more practical when the file-preparation workflow stops being the part operators dread.
The Bigger Opportunity
3D embossed UV DTF has been marketed heavily through finished samples.
That makes sense—the raised result photographs well.
But the industry’s next step may be less about another texture and more about making those textures practical to produce repeatedly from everyday customer artwork.
That is a software problem as much as a hardware problem.
And that may be why AI matters here.
Not because AI can invent another graphic.
Because it can help turn the graphic you already have into the white, varnish and relief information the printer actually needs.
For shops evaluating this category, that is the workflow worth watching.
Frequently Asked Questions
What is 3D embossed UV DTF?
3D embossed UV DTF is a dimensional digital-printing workflow that uses layered white, color and varnish/relief information to create raised graphics on transfer media. Certain systems are designed for heat-transfer applications on selected textile products.
Is 3D UV DTF the same as normal UV DTF?
No. Conventional UV DTF is generally associated with adhesive transfers for hard surfaces. Specialized 3D fabric-transfer systems may use different inks, films, adhesives and finishing processes. Always follow the specifications of the complete system.
Can LUMEN S24F be used for T-shirts?
T-shirts are not currently a recommended LUMEN S24F application. The product is designed primarily for selected structured fabric accessories such as hats, bags, shoes and similar products.
Does Image Presto eliminate Photoshop?
It can remove the need to manually build many spot-channel operations in Photoshop for the supported workflow, but professional design software can still be useful for creating or correcting source artwork. Image Presto’s role is primarily to make masking, spot-channel preparation, relief creation, preview and export easier to manage.
Can AI automatically create the 3D effect?
AI can assist with identifying and masking the areas that should receive a particular treatment. The operator still controls the channels, texture, relief treatment and final production decision.
Is faux embroidery actually embroidery?
No. It is a printed dimensional effect designed to visually reference embroidery. It does not contain stitched thread and should be described as faux embroidery, embroidery-style or stitch-texture printing rather than actual embroidery.
See It With Your Own Artwork
The most useful way to evaluate a 3D workflow is not with our demonstration logo.
Bring one of yours.
See how the artwork is selected, layered, textured, previewed and prepared for production—and then judge the finished result yourself.
LUMEN S24F — Flat In. 3D Stickers Out.